The Final Day

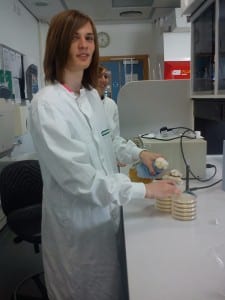
Today we pippetted out the agar into plastic tubes we autoclaved to maintain a sterile environment and avoid contamination of the bacteria.  (WARNING; agar sets quickly-had to make agar again), Second attempt agar once cooled BUT NOT SET we continued to pippete into the plastic tubes.  Once the agar was set we could then follow the correct sterile techniques to produce “stabs” into the agar, using the successfully grown streak plates.  We correctly labelled each one to identify them according to strain used, and from which culture.  These we recorded as successfully grown from the originally stored samples, and stored as “stabs”.
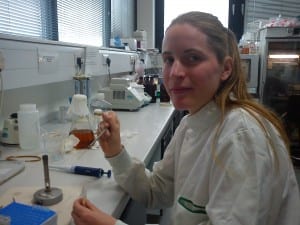
Sophie in the lab


A "Stab" culture

We were disappointed we ran out of time and was unable to produce the glycerol mixture with the samples in the broth. But we want to come back (during term time or a a fuure holiday period) to complete the job.


The remainder of this day was spent finishing off any jobs that we still had to complete, this included the rest of the “stab” cultures and checking the P.acnes plates as well as gram staining some friendly E.coli to confirm thier identity. We also made sure that the technical staff knew exactly what had been completed over the past two weeks and the records were up to date in order for others to carry on after our work.
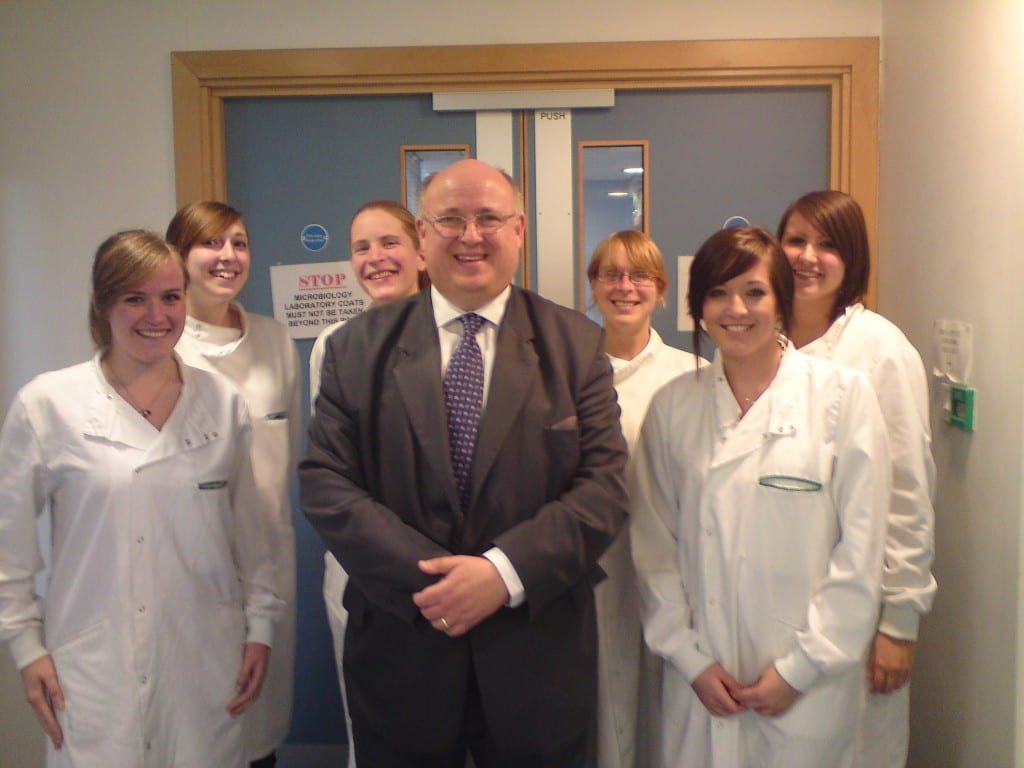
From left to right: Gemma Bowey, Sarah Beane, Sophie Cowper, Dr Tim Bates, Tammy Wiltshire, Laura Brown and Hayley Brudzinska

p.s this is Keiran

Streak Plates and Stab Cultures

Thursday 16th June

The group began the day in the Research Room getting up to date with the blog, updating and finishing off various “bits of blog” that we had started and making sure we had plenty of photographic evidence of all our activities. The blog was an effective way to collect all of our work and discuss any findings as a group. This took up most of the morning on the second to last day of the two week lab work experience.

After a lunch break, Tammy and Sophie continued the work on the E. faecium samples. Their first job was to anxiously check the plates streaked the week before to see if any had successfully produced collonies.  They were very pleased to find some did which showed these ones had been successfuly stored, and these streak plates can be used to produce “stab” cultures (obtained by “stabbing” bacterial samples into bottles of agar before storage).

After collecting the successfully grown streak plates form the fridge, they were placed onto the bench and made up the required solutions.  More M17 and lactose agar were made to use the following day for “stab” cultures.  We also made up some glycerol and M17 broth for freeze-dried samples.  Both ways of storage are a good way of preserving the bacteria for use in future progects.

The M17 broth solution was collected and placed into sterile plastic sample tubes, and from each successfuly grown streak plate, a tube was fully labelled with the identity of the particular bacerial sample.  Following aseptic techniques using a “flamed” wire loop, a single collony were scraped from the streak plate and scraped onto the inside of the tube containing the broth and mixed.  These are to be used for storage by freeze-drying with glycerol later.  These bacterial samples were placed in the incubator overnight.

M17 samples

Laura and Gemma sifted through the many years worth of bacterial sample that are stored in the labs. They then prepared stab cultures from these in order for easier storage. This took the best part of the afternoon but their work will be well worth it as these new condensed samples will take up less room and will be accessible for years to come.

And now, dear reader, are Dr Tim Bates’ ever so slightly squished sandwiches. These sandwiches were in no way part of the 2 weeks lab. work experience, but more an amusing (to us) photo opportunity as a result of their being left in his rucksack in close proximity to some research text books:

A slightly squashed lunch

Meet the Pro Vice Chancellor…

It’s often the way of the world that a new electronic toy will always encounter teething problems, whether it be a new phone or a computer. It’s a learning process, figuring out what all those mysterious buttons do. This is especially true with “The Stig”, the latest piece of equipment to grace one of the laboratories of the University of Lincoln. On Wednesday morning, “The Stig” dug its heels into the ground and refused to cooperate, so it was back to the safety of the microbiology labs, where the technology was slightly more cooperative.

It was a more sedate morning than the one before, where we had been dissecting the various organs of a pig (a.k.a the “glamorous” work). Microbes require time to adapt and grow on their new homes, such as the various agar plates being used for specific organisms, so it was the task for that morning to check how they were growing, if they grew at all, and to plan the next course of action, especially for their storage for future use by other students at another time.

In the afternoon, we were visited by Professor Paul Stewart, who is Pro Vice Chancellor Research and was Founding Head of the new Engineering Hub for the School of Engineering.

http://www.lincoln.ac.uk/engineering/staff/PStewart/p_stewart.htm

He was given a tour of the main microbiology teaching lab whilst Dr. Bates and Dr. Williams explained the work we had been doing, and how it provided us with additional valuable experience that we were unable to obtain elswhere, while we students shuffled around trying to avoid the Professor Stewart’s camera. Unfortunately, pictures were eventually taken…

Laura in the anaerobic cabinet
Sophie counting colonies
Tammy hard at work

Guts Galore

As we all happily strolled into Gen Lab 1 on Tuesday morning, the stench of dead animal hit us like a bus. Laid out on the bench was the gut of a pig all ready for “slicing and dicing”. After the art of breathing through our mouths (and not through our noses) was mastered we got started.


The technicians began by cutting a kidney and a heart into suitable sized segments for fixation. The tissue was then placed into plastic histology cassettes and dipped it into 10% neutral buffered formaldehyde to remove any blood that may still be there. They were then placed into seperate buckets that would be sent to the hospital (for further processing into wax blocks ready for us to thinly cut with a microtome).

Our job was to remove the liver from the rest of the pig gut that we had been provided with and by golly was it a big liver.  As we seperated the liver it became clear that it was approximately 2 to 3 times bigger than the average human liver and had rather leathery look to it. the liver was then cut up into similar segments to the heart and kidney and also placed in a seperate bucket for the hospital.

Tissue samples being prepared

We then explored the rest of the gut. Scalples in hand we began the butchering. First point of call, the tongue. The tough muscle was quite large and of a more rough texture than the rest. a we worked our way down toward the heart we sliced through the oesophagus to have a look at what the inside looked like. There seemed to be so sort of unknown whit foam inside. As we got to the heart we cut it in two so that we could see both the atria and ventricles as well as getting a clear view of all of the vavles. The lungs were the next stop and these were especially interesting due to their spongy like texture and the fact that as we cut through the middle we could see many of the bronchioles within the tissue.

The lungs

At the end we took a beaker of water and dropped both a segment of the tongue and of the lung into it. The lung remained afloat at the top of the water whilst the tongue sink to the bottom this was evidence that the lung tissue still had some air remaining in it even after it had been removed from the pig.

After struggling at first to keep our lunch down, we returned back to the labs in the afternoon. We spent the afternoon hunting down and cleaning the remainder of the microscopes within the science building. We also produced some standard solutions of 5 grams/litre and 10 grams/litre of Albumin and 5 grams/litre and 10 grams/litre Globulin for use the following morning on ‘The Stig’ (also known as the Horiba Pentra 400 autoanalyser)…

The Horiba Pentra 400 autoanalyser. Also known as "The Stig"


Microscopes, microscopes and more microscopes

Our second week of training week begins with a 10 o’clock start. Yes a 10 o’clock start (hurray), where microscopes were the main topic of conversation. The task for today was to do a thorough check and clean of all the microscopes in the science building.

With Dr. Bates help, we created a standard operating procedure (SOP) for the cleaning of microscopes. This involved writing down a set of rules and procedures for the cleaning of the different parts of the microscope. With additional guidance from the manufacturer’s websites and theirs SOPs, for all the different makes of microscopes we compiled a general SOP that could be used for all. Some of the main points of the SOP included the concentration of the solvents we would use for cleaning and the type of materials that would be used. These had to be carefully chosen so they did not damage the lenses or the mechanical stages on which microscopes slides are placed during viewing.

With a total of 50 microscopes to check, we best get a’cracking. The first part of the procedure was to have a quick look over to check for any damage to the microscope and to ensure the bulb was working. After this we then commenced with the cleaning. To do this we removed the eyepieces and the objective lenses. Following the guidelines of the SOP, we used 70% ethanol on a cotton swab to clean the objectives, being careful to clean in a circular motion from the centre of the lenses. The eyepieces were cleaned with lint-free tissues. To clean the mechanical stage, a solution of warm water and liquid detergent was used.

This was a very time-consuming task as you may have already guessed and with a relatively long lunch break it took us all the entire day. However, now all know how to strip and clean a microscope, which are useful skills to have when applying for a post-graduate job.